
Monday, March 14, 2011
Hola Barcelona
Just kidding - I still love you guys!
Especially since you let us stay with you for three days and took us to lots of yummy tapas bars and showed us around Barcelona.
Thanks guys!
Right - back to the trip. We landed around lunch time on Friday and the sun was shining! Don't worry, it promptly hid behind clouds less than 60 minutes after touchdown, but we sure did enjoy those first 58 sunny minutes of being in Spain.
First order of business - TAPAS!

Ok, glad we got that out of our system.
(above tapas can be found at Tapas 24)
(I highly recommend them)
Next - we were off to Casa Batllo, the house without any straight lines by Antoni Gaudi.


 |
| this is actually a close up of the wall |


I had never seen any of Gaudi's work before. Casa Batllo (pronounced 'by-yo') is very colorful and curvaceous, almost mystical (sometimes in a magic mushroom kind of way). There are many of Gaudi's famous works in Barcelona - Casa Batllo, Casa Mila, Sagrada Familia, Park Guell - among many others. In additional to having a very fluid and magical element to most of his works, they typically are very colorful and have a lot of mosaics that add to the magical element.
We decided to keep with the Gaudi theme and walk over to probably Gaudi's most famous work of art - Sagrada Familia (sacred family)


As you can see, the cathedral isn't finished yet. Construction with Gaudi started in 1883, and was only a quarter finished by the time he died in 1926. People predict it will take another 15 years to complete the cathedral, just in time for the 100 year anniversary of Gaudis death. Although some believe that the Sagrada Familia will never be finished, partly due to the fact that a high speed rail station is being built underneath the foundation of the church. I guess only time will tell!
We walked all the way to the cathedral but only got to see the outside. By the time we arrived it was almost closing time...things we should have checked before trekking all the way there.
The second day of our trip was really something special.
So special I haven't even seen anything like it in London in a really long time.

Rain.
Sure, it rains in London all the time. But usually its a slow, damp, cold drizzle that sort of hangs around like a creepy guy at the pub.
This, was something different.
This was pouring, pissing down, chucking, cats and dogs rain.
All. Day.
We tried going to Sagrada Familia again, suspecting no person in their right mind would stand in line in this terrible weather.
Oh Barcelona tourists - your commitment astounds me.
We rolled up to the cathedral to find a hundred people waiting in line. We high-tailed it to the Picasso Museum (pretty original idea wasn't it, go to a museum on a rainy day??), and again - a big long line. At this point we figured we might as well stay and wait in line - it was clear this was becoming a pattern.
A couple of hours later (and a tiny bit drier) we headed back out in to the monsoon.
And then...a ray of sunshine...


...in the form of chocolate.
These were literally the only photos I took all day with my camera.
Sad?
Ambitious?
Delightful for sure.
The rest of the day was spent tapas bar hopping (thanks to Cerveceria Catalana) and ended with a bottle of cava and dinner at Hotel Omm. Not too shabby for a rainy day.
Stay tuned for day three in Barcelona - the day the sun returned.
For now, here is the link to our photos!
Facebook album

Wednesday, March 09, 2011
Project 52 - week 9 and 10
Lies. Thats a big fat lie.
I'm sorry for lying to you.
Before we get to week 10 I'll back track to week 9. Actually, you've already seen this photo. Hopefully it didn't make you drool too much...

The theme for week 9 was Express Yourself. I think the best way I express myself is through my baking!
The theme for week 10 is Childhood Toys.
This was a hard for me (I feel like I say this a lot!) - since we don't have any kids of our own, and don't really have any friends who have kids (in London at least), I didn't really know what to take a picture of.
On Saturday I walked around Hampstead Heath with my friend Emily to take some photos. She wanted some practice using her dSLR and I'm always game for a photo session. We ended up in a semi wooded area just as the sun went behind the clouds. I shot a picture of this amazing tree - this area looked like we were in some kind of fairy book forrest.

I was uploading my photos on Sunday and was thinking about this weeks theme. When this photo popped up I immediately thought back to my parents front yard and how my sister and I used to climb the trees, in particular the one right in the middle of the front yard. I usually didn't make it past the first level of branches (guess this heights thing has been with me for a while) but I love those trees. We even take family photos in front of them (see below).
I'm not sure if a tree counts as a "toy" but they sure are fun (and make good backgrounds)!

Friday, March 04, 2011
Lemon Curd Cake
This cake to be exact...
 |
| curtesy of Martha Stewart.com |
Actually, the picture that I have in my Baking Handbook has THREE layers of lemon curd. Ohhh yeahhh. Three.Layers.
Whats the occasion? A coworker of mine is leaving and its her last week - I thought we should have a little cake to wish her luck in the future.
And I had a jar of lemon curd in the fridge that I was dying to use on something other than toast.
So, I made the cake.
 |
| Don't mind the dirty dishes in the back... |
Bake two 9" cakes made with lemon zest and sour cream to give it some *zing!*
Each cake is cut in half and then filled with three luscious layers of lemon curd.
And then, I made a really whacky whipped frosting - it involves eggs whites, white sugar and butter. I dont think I have ever made frosting without powdered sugar! And right before I added the butter to the whipped sugar and eggs whites, I nearly thought I invented Fluff.
But then I remembered that Fluff was already invented, which is why I knew the name.
Invention fail.

BUT -
Lemon Curd Cake success!
Lemon Curd Cake success!
Tuesday, March 01, 2011
Photography 101
I took a few photography classes in high school with my dads old Pentax SLR camera. Pretty much from the first click I was in love. The sound of the shutter is music to my ears. I especially loved the developing part of photography class (yes - this was back in the day when we used film cameras, not digital!). I loved being in the dark room - so dark, quiet and peaceful. Developing the film and seeing your images on that first contact sheet. And the best part - watching your photos come to life in the developing chemicals. The image literally appears before your eyes.
 |
| Central Park 2004 - taken with my SLR |
 |
| Marist College - Florence 2003! |
Did I mention that the last photography course I took was in the spring of 2003? That would be SEVEN years before I got my hands on another SLR camera (which makes me sick to think that it was seven - oh wait now EIGHT years since I was studying in Florence). To say I had forgotten how to use an SLR would be an understatement. Sure, I knew what the aperture and the shutter speed did on a camera - but did I remember how to set them properly to take a good picture? Not even a chance.
After a few months of playing around with the manual settings on my own and getting fairly frustrated, I knew I needed some help. So, I decided to take a photography course. I didn't want to take a semester long course at college, really all I needed was a refresher. And thats when I found LSP. London School of Photography. They offer short courses (either one weekend or four nights after work) for beginners, intermediates and in special topics.
Finally, my week had come - I was going back to school! It was a little hard sitting in a class room for 3 hours after a long day of work, but once we really got in to the material the time literally flew by.
What did we learn about?
Besides all of the obvious stuff - the bones of a dSLR, what photography is (playing with light) - we learned about...
Capturing light in dark rooms...

Painting with light...
 |
| I managed to get this image by myself by setting the camera on the kitchen table, pushing the button and then running in to position to make the heart shape with the candle I was holding...all in the dark |
Ok - this picture didn't have anything to do with lessons learned in class, but I was dog sitting that week and he's just too cute not to take pictures of!

Back to the lessons...
We learned about capturing moving objects and objects in motion...
 |
| Is it just me or does the guy on the bike look like a ghost? |

Depth of field...


And all of these lessons rolled in to one!

On the last day of class we were each given individual assignments and then we went down to Chinatown to shoot images for this assignment.
My assignment was "details".
Go figure.
I think my teacher caught on to my macro setting obsession.
Here are my final photos from my final project -


Overall I was very happy with this class. It wasn't too intense and didn't move too fast. I got a really good refresher on all of the parts of the camera - and most importantly - I felt in control of the camera again.
Most times...
 |
| Ooops.... |
Friday, February 25, 2011
Cinnamon Raisin Explosion
I know...this blog has started to seem more like a cooking blog rather than a travel blog - but hang in there. We are off to Barcelona in a few weeks and Vietnam after that, so you'll be able to feast your eyes on tons of scenic pictures then.
But since its cold and gray and rainy in London this time of year (actually, I'm still waiting for a time of year when it ISN'T like that...) I prefer to hunker down inside where its warm and dry, and bake to my little hearts content.
On Sunday - I tackled bread. Not quick bread (though I do love a good banana nut or pumpkin loaf) - real, yeast bread.
The last time I made a yeast bread I was in my early teens.
Why I was making bread in my early teens I have no idea - I had the baking bug early I guess.
Needless to say, that was some time ago.
I haven't really had much urge to bake yeast bread. The bread I get from the store is just fine, and since it's just the two of us in the house we usually don't even finish a whole loaf in one week.
But there was one bread recipe that kept catching my eye...luring me in. It's by Martha Stewart in her Baking Handbook cookbook (shout out to Maggs for buying me this cookbook some years back - it is a staple in my kitchen, and it has the cookie stains to prove it!). It was this photo that inspired me, every time I opened that cookbook....
 |
| nom nom nom |
I was worried that I would have a hard time making the bread since I don't have a Kitchenaid stand mixer *cough, christmas present, cough* - I wasn't sure if my hand mixer would be up for the task. However, once I got in there I was pleasantly surprised! I didn't have that much of a struggle at all, and apart from a little extra elbow grease, the dough was ready!
And that's when I remembered how long yeast bread takes to make...two sessions of rising for almost 2 hours each, another hour of rising after the bread was rolled and in the pans...one hour in the oven...took me all the way to late afternoon. I was hungry!

This is what greeted me in the oven after 45 minutes of baking. Apparently I didn't seal the seams very well on the loaf to the left, as you can see there was an explosion of cinnamon doughy goodness spilling over the sides of the pan (thank god I put them on a baking tray!). I didn't want that part to burn or spill out any more so I tore it off and put these babies back in the oven for another 20 minutes to finish up.
What happened to those cinnamony doughy goodness bits I have no idea...
....they might have ended up inside my belly.
But I can't remember - I was in heaven.


Of course I completely forgot to take a picture of the inside of the bread, so you could see the beautiful swirl of cinnamon and raisins. Just refer back to Martha's photo above.
Ok, it didn't look THAT good...it was more like a big cinnamon blob in the middle of the bread.
But maybe that is actually better...?
Take that, Martha!
Project 52 - week 8
I have to tell you - I am mighty glad its Friday...even more than usual this week.
It was quite the week -
particularly stressful week at work...
photography class for 3 hours after work every night...
stomach bug knocked me down for a couple days...
dog sitting for the second half of the week....
all on my own.
But have no fear, all is right in the world starting tomorrow. No work for two days....Brian gets back tomorrow afternoon...and I have a world of knowledge in my little brain about my camera and how to improve my photography.
So for the last two hours of this crazy week, I'm going to sit here with a glass of wine, food network on in the background, and show you my photos for Project 52. Not.too.shabby.
This weeks theme: The view from here...
OH what a theme! The possibilities!
At the end of what seemed like one of the busiest I have had this year (so far...) a blessing shined down on me - that little blessing was sunshine and temperatures over 50 F *cue angels singing*
It really is amazing what a little sunshine and warm weather will do for people - I actually saw people smiling and whistling walking down the street!
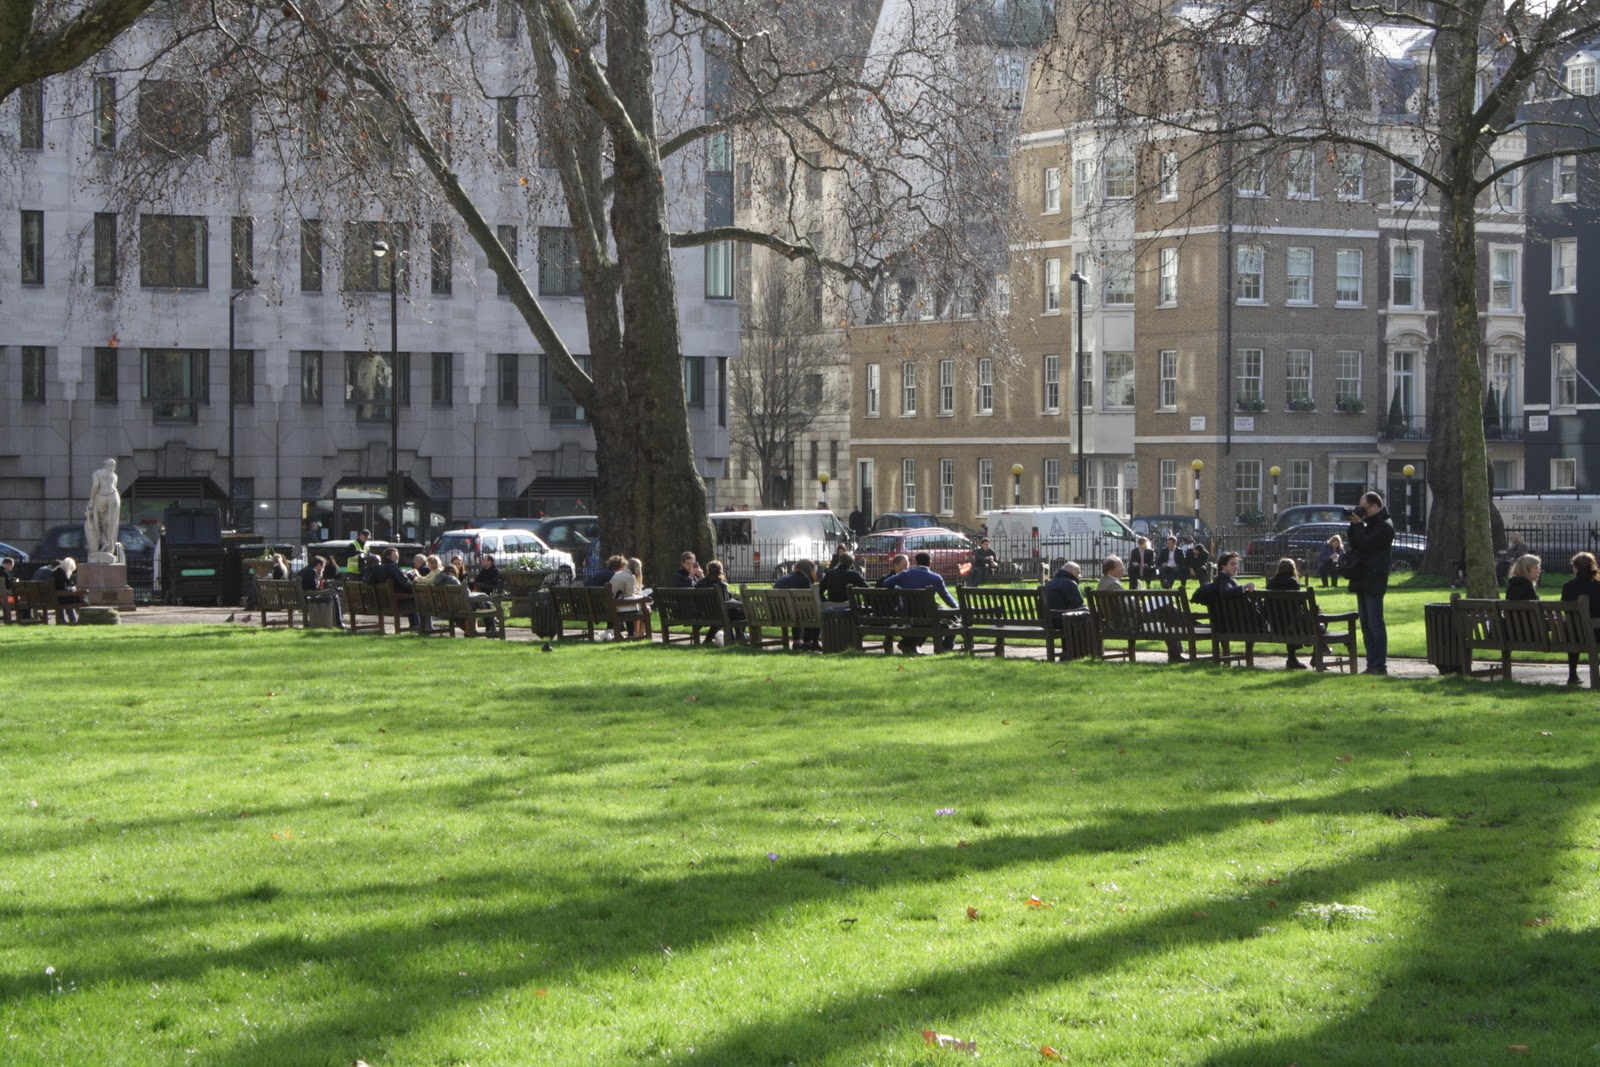
The view from here....was Spring!

Unfortunately I know this nice weather is short lived...back to freezing temperatures and rain by Monday.
I'll take what I can get! Here are a few more of my favorites from this week...


Saturday, February 19, 2011
Project 52 - week 7
Me neither.
I actually almost didn't submit a photo this week as I didn't have time to take the photo that I wanted to fit the theme. Correction, I had the time and even had my camera with me - but of course I forgot to put the memory card in the camera. Of course.
This weeks theme was "Open your heart". I didn't want to go the obvious route and take a photo of something heart shaped, and that pretty much gave me zero ideas.
Finally, Friday morning as I was getting ready for work I had an AH HA! moment realizing the perfect thing to take a photo of.
London.
Its been hard living over here - away from my friends and family, where the average temperature year round seems to hover around 50* and words like bin, rubbish and aubergine replace your normal vocabulary.
However, over the last two plus years I have slowly been opening my heart to London.
But don't worry New York - you're still number one!
Right, back to the story....I knew exactly where I was going to take my picture - on my bus ride to work every morning, just as we are going through Piccadilly Circus heading towards Green Park, the street opens up and you can see right down to Parliament. The light is usually so pretty at that time and sometimes when its a little foggy it can look like a painting of old world London (bar the Pizza Hut sign on the corner).
Half way in to my journey to work my stomach suddenly dropped. I opened up my camera and found the memory card slot empty. Sinking further, I tried taking a test photo to see if my camera had some sort of smaller internal memory card that I could at least use to take a couple shots. No such luck. Sunk.
One OTHER thing I opened my heart up to this week were those fantastic Guinness et al cupcakes I made over the weekend! Thus - this weeks photo....

Wednesday, February 16, 2011
Reader Mail
I'm getting to the point, don't worry.
The other day I received this email about my recent Guinness Cupcake post -
"I think we could skip all that fattening stuff and get right to the Guiness with a shot of Irish whiskey mixed in with Baileys on the side. I suppose you could put a cupcake wrapper around the Guiness if you wanted to......."
While I don't happen to fully agree with this reader, as I live for the "fattening stuff" (ie chocolate, butter and sugar....*drool*) I see what he's getting at...
Sunday, February 13, 2011
Guinness Cupcakes with Whiskey Ganache and Baileys Frosting
This little gem came to me by way of Miss Maggie Stumpf. She found it on SmittenKitchen.com.
I decided to make them as an early Valentines Day gift for Brian. He cleaned the bathroom for my Valentines Day gift. I think thats a pretty good deal for both of us.
These are a little more labor intensive than regular cupcakes, but they are so worth the extra effort.

First, chocolate and Guinness cupcakes are baked. The Guinness makes the cupcakes so light and fluffy, I was amazed. MMmmm foamy beer goodness.
While the cupcakes are baking you can make and cool the Whiskey ganache. This was actually my first time making ganache, and now its my favorite word. I didn't have an apple corer or a round cookie cutter, so I used a liquid injector. Not as easy as it sounds since ganache is not actually a liquid. But thats what I have a big, strong husband for.
And yes, he did help make his own cupcakes. Shush.

Once the cupcakes are filled its time to make the frosting!
Butter. Powdered Sugar. Baileys.
Heaven.


Go ahead - try them for yourself!
Adopted from Smitten Kitchen
Guinness Chocolate Cupcakes
1 cup Guinness (or other stout beer)
1 cup unsalted butter
3/4 cup unsweetened cocoa powder
2 cups all purpose flour
2 cups sugar
1 1/2 teaspoons baking soda
3/4 teaspoon salt
2 large eggs, room temperature
2/3 cup sour cream
1 cup unsalted butter
3/4 cup unsweetened cocoa powder
2 cups all purpose flour
2 cups sugar
1 1/2 teaspoons baking soda
3/4 teaspoon salt
2 large eggs, room temperature
2/3 cup sour cream
Ganache Filling
8 ounces dark chocolate (I used a mix of milk and dark chocolate)
2/3 cup heavy cream
2 tablespoons butter, room temperature
2 teaspoons Irish whiskey
2/3 cup heavy cream
2 tablespoons butter, room temperature
2 teaspoons Irish whiskey
Baileys Frosting
3-4 cups confections sugar (I used 3 cups)
4 oz (1 stick) unsalted butter, room temperatue
3 to 4 tablespoons Baileys
4 oz (1 stick) unsalted butter, room temperatue
3 to 4 tablespoons Baileys
Extras
1-inch round cookie cutter, an apple corer or liquid injector (not recommended, but it gets the job done)
To make the cupcakes:
- Preheat oven to 350°F.
- Line 24 cupcake cups with liners.
- Bring 1 cup Guinness and 1 cup butter to a simmer in a heavy large saucepan over medium heat.
- Add cocoa powder and whisk until mixture is smooth, cool slightly.
- Stir together flour, sugar, baking soda, and 3/4 teaspoon salt in large bowl.
- Using an electric mixer, beat the eggs and sour cream in another large bowl to blend.
- Add Guinness-chocolate mixture to the egg mixture and beat just to combine.
- Add flour mixture to the wet ingredients and beat briefly on a slow speed.
- Using a rubber spatula, fold in batter until completely combined.
- Divide batter among cupcake liners, filling them 2/3 to 3/4 of the way.
- Bake cupcakes until a tester inserted into center comes out clean, rotating them once front to back if your oven bakes unevenly, about 17 minutes.
- Cool cupcakes on a rack completely.
Make the ganache
- Chop up the chocolate and transfer it to a heatproof bowl.
- Heat the cream until simmering and pour it over the chocolate.
- Let it sit for one minute and then stir until smooth (you can melt it further in the microwave for 15-20 seconds at a time if the chocolate isn't completely melted).
- Add the butter and whiskey and stir until combined.
Fill the cupcakes:
- Let the ganache cool until it is thick but still soft enough to be piped
- Meanwhile, cut out the centers of the cooled cupcakes with your 1-inch round cookie cutter or apple corer. Make sure you don't cut all the way down to the bottom of the cupcake.
- Put the cooled ganache into a piping bag with a wide tip and fill the holes in each cupcake to the top.
- If you are using a liquid injector, fill the cupcakes until you can see the top pop up a bit, trying not to burst open the cupcake.
Make the frosting:
- Whip the butter in the bowl of an electric mixer, or with a hand mixer, for several minutes. You want it to be very light and fluffy.
- Slowly add the powdered sugar, a quarter cup at a time.
- When the frosting looks thick enough to spread, drizzle in the Baileys and whip it until combined.
- Frost and decorate the cupcakes until your little heart is content
Happy Valentine's Day!
Subscribe to:
Posts (Atom)